
A solar insect killer installation strategy helps growers cut flying pest pressure without scheduled chemical sprays. Every site gains from a solar insect killer installation plan that targets the adult flying stage and runs through peak season. Solar Insect Killer Installation Priorities: solar i. This guide explains how a solar insect killer installation plan fits into modern farm pest management and what to check before scaling across a block or region.
Furthermore, Every site gains from a solar insect killer installation plan that targets the adult flying stage
In addition, and runs through peak season. Solar Insect Killer Installation Priorities: solar insect killer installation maintenance A
Therefore, solar insect killer installation plan works best when devices are spaced by habitat and maintenance is
As a result, scheduled before peak season, not after pests arrive. Buying a solar insect killer is only half
For example, the job. The other half is putting it in the right place and keeping it running.
Specifically, Poor placement or ignored maintenance is the #1 reason a farm pest management program underperforms. This
Notably guide walks through installation and upkeep for fields, orchards, and greenhouses so your units deliver season
However after season. Before You Install: Plan the Grid Do not scatter units randomly. Effective agricultural pest
Consequently control starts with a map. Mark last season’s damage hotspots — pests return to the same
In practice zones. Decide spacing — open fields 50–80 m grid; orchards one unit per 0.3–0.5 ha; greenhouses
Overall lower density because the space is enclosed. Avoid competing light — keep units away from streetlights,
First, lit barns, and yard floods. Check solar exposure — panels need 4+ hours of direct sun;
Next, trim shading branches. A 10-unit pilot before a full rollout saves money and proves the concept
Finally, to stakeholders. Step 1: Choose the Mounting Most traps mount on a 1.5–3 m pole or
Moreover, hang from greenhouse trusses. Wooden or metal post: cheapest, easy to move Permanent pole with concrete
Furthermore, base: best for orchards and windy sites Truss suspension: standard for greenhouses Use a pole diameter
In addition, the bracket clamps to (usually 48–60 mm). For windy open fields, guy-wires or a wider base
Therefore, prevent tipping. Step 2: Set the Correct Height Height decides which pest you catch. This is
As a result, where farm pest management gets precise: Low crops (vegetables, seedlings): 1.2–1.5 m Soil-surface beetles (flea beetle):
For example, 0.5–1.0 m Orchards: 0.5 m above the canopy top Greenhouses: suspended at ~2 m from trusses
Specifically, Mount the lamp where your target pest actually flies, not at a convenient height. Step 3:
Notably Orient and Secure Face the LED toward the crop aisle or open flight path, not into
However a wall. Tighten all clamps; a loose unit vibrates and the seal fails faster. Route the
Consequently panel so it tilts toward the equator (south in the northern hemisphere) at ~30–40° for best
In practice charge. Step 4: First Power-On and Test At install, cover the photocell or wait for dusk
Overall to confirm: Lamp switches on automatically Fan spins and you feel suction at the intake No
First, error light on the controller Log the serial number, location, and install date for each unit
Next, — you will need this for warranty and maintenance tracking. Maintenance Schedule A solar insect killer
Finally, is low-maintenance, but not zero-maintenance. A simple rhythm keeps catch rates high. Weekly (peak season) Empty
Moreover, the collection bag or tray Wipe the LED/lamp lens — dust cuts attraction sharply Check for
Furthermore, hornet or spider nests near the intake Monthly Inspect the panel for bird droppings or leaf
In addition, shade; clean with water Confirm the controller-box seal is intact Note the catch count to track
Therefore, pest pressure trends Seasonally (pre-season and post-season) Tighten all brackets and poles Test battery voltage; replace
As a result, if below spec For cold regions, remove and store batteries if temperatures stay below -10°C Troubleshooting
For example, Low Catch If a unit suddenly catches little: Lamp off at night? Check the photocell and
Specifically, battery voltage. Fan weak? Clean the blade; replace the brushless motor if needed. Few insects overall?
Notably You may have already suppressed the population — a good sign. Compare with a control zone.
However Too many non-targets? Switch off during peak pollinator hours or relocate away from bloom. Greenhouse-Specific Notes
Consequently Greenhouses concentrate pests and also concentrate the catch. Because the space is enclosed, use fewer units
In practice than outdoors and: Empty trays weekly to prevent mold from humidity Keep units away from irrigation
Overall nozzles to protect the controller Use the catch log to time any supplemental biological control precisely
First, Safety and Compliance IP65 minimum; IP66 preferred where irrigation spray hits the unit Keep the controller
Next, box sealed — that is the part that fails first Store spare fans, panels, and controller
Finally, boards so a failure does not idle a unit for weeks Related Guides solar insect killer
Moreover, buying guide integrated pest management solar insect killers solar bug zapper vs traditional pest control Use
Furthermore, this solar insect killer installation guide alongside the references below to build a complete, defensible program.
In addition, For deeper technical and regulatory context, see the FAO Integrated Pest Management and the EPA safe
Therefore, pest control . Key Takeaways A solar insect killer installation plan starts with a site survey,
As a result, not a bulk order. Match the solar insect killer installation device to the target pest and
For example, the local climate. Space solar insect killer installation units by habitat and keep them maintained through
Specifically, the season. Pair solar insect killer installation hardware with simple monitoring so results are measurable. Document
Notably solar insect killer installation outcomes to justify renewal and scale-up. Train field staff on the solar
However insect killer installation workflow before peak season. FAQ Q: Can I move a unit after installation?
Consequently A: Yes. Pole-mounted units are designed to be relocated as crop layout changes. Re-test the photocell
In practice after moving. Q: How long does a battery last? A: LiFePO4 batteries typically last 2–4 years
Overall under daily cycling. Panels last 20+ years. Q: Do I need to clean the panel often?
First, A: In dusty or pollen-heavy areas, a monthly wipe maintains charge. Bird droppings should be removed
Next, as soon as seen. Q: What if a unit stops at night mid-season? A: Check battery
Finally, voltage first — it is the most common cause. Keep one spare on the shelf during
Moreover, peak flight. Conclusion Good farm pest management with a solar insect killer is 20% buying and
Furthermore, 80% placing and maintaining. Plan the grid, match height to the pest, and follow a simple
In addition, weekly-monthly-seasonal routine. Do that, and a modest fleet will protect crops reliably for years.
Therefore, With a solar insect killer installation approach, growers record pest species, peak activity times and crop
As a result, height first, then set trap spacing to match canopy width for consistent agricultural pest control.
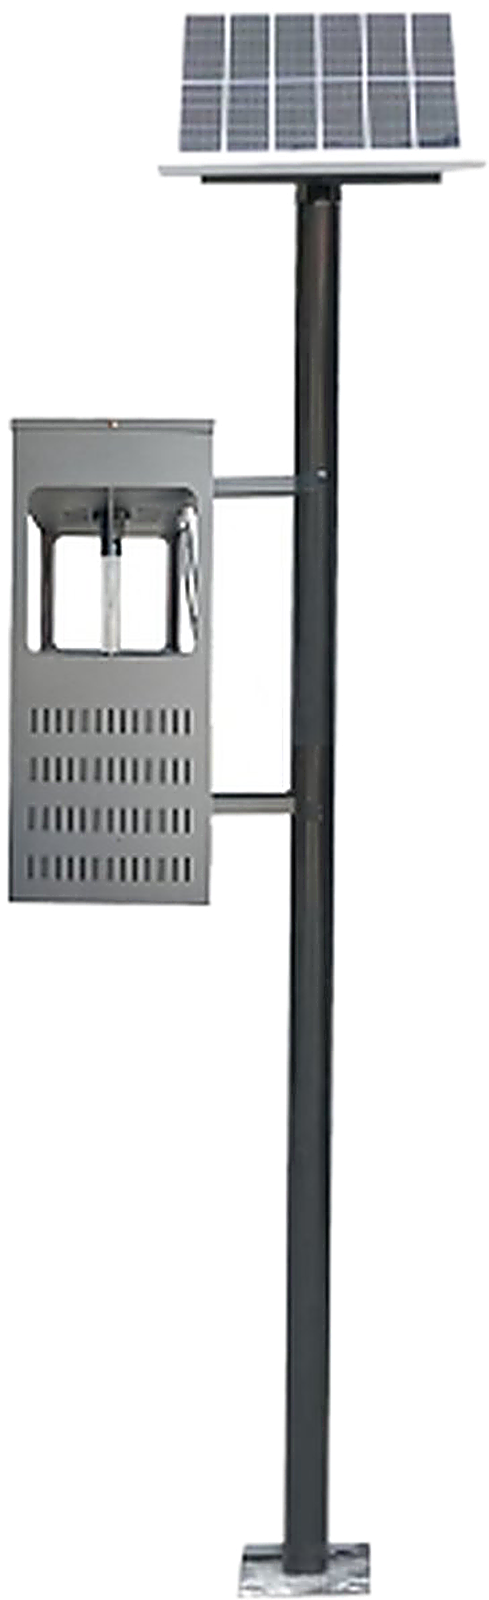
Implementing solar insect killer installation at the right density and height improves catch rates and protects beneficial insects. Match device spacing to canopy width, place units along block margins where pests enter, and schedule cleaning before peak flight periods.
For example, With a solar insect killer installation approach, growers record pest species, peak activity times and crop
Specifically, height first, then set trap spacing to match canopy width for consistent agricultural pest control.
Implementing solar insect killer installation at the right density and height improves catch rates and protects beneficial insects. Match device spacing to canopy width, place units along block margins where pests enter, and schedule cleaning before peak flight periods.
Notably With a solar insect killer installation approach, growers record pest species, peak activity times and crop
However height first, then set trap spacing to match canopy width for consistent agricultural pest control.
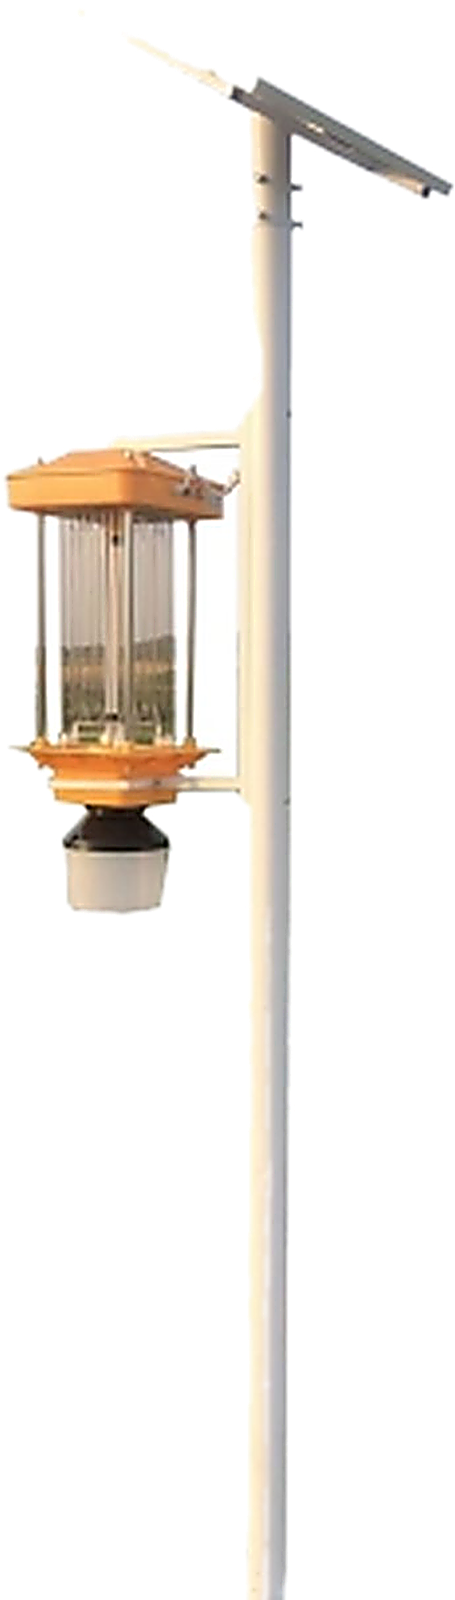
Implementing solar insect killer installation at the right density and height improves catch rates and protects beneficial insects. Match device spacing to canopy width, place units along block margins where pests enter, and schedule cleaning before peak flight periods.
Consequently With a solar insect killer installation approach, growers record pest species, peak activity times and crop
In practice height first, then set trap spacing to match canopy width for consistent agricultural pest control.
Implementing solar insect killer installation at the right density and height improves catch rates and protects beneficial insects. Match device spacing to canopy width, place units along block margins where pests enter, and schedule cleaning before peak flight periods.
Overall With a solar insect killer installation approach, growers record pest species, peak activity times and crop
First, height first, then set trap spacing to match canopy width for consistent agricultural pest control.
solar insect killer installation is most effective against nocturnal flying adults such as moths, flies, beetles and plant-hoppers. It intercepts pests before they lay eggs, breaking the cycle without broad-spectrum chemicals.
Next, Typical spacing is one unit every 20–40 meters along field margins or one per 0.3–0.5 hectares
Finally, inside blocks. Dense canopies or high pest pressure benefit from the shorter end of the range.
Moreover, When placed outside flowering zones and operated at the recommended height, solar insect killer installation targets
Furthermore, pest flight paths while leaving bees and other beneficials largely undisturbed.