
Winter storage decides whether a solar insect killer survives to the first spring flight. A unit left outside through freeze-thaw cycles may be dead on arrival, yet the winter storage routine takes only a few careful hours in autumn and decides whether a fleet of traps starts the next season or needs expensive replacement. This guide covers seven steps that protect batteries, panels, and fans through the cold months.
Cold affects every component differently. A lithium or lead-acid battery loses capacity in low temperatures and can be permanently damaged if it is deeply discharged while frozen. Panels accumulate dust, leaves, and in some climates snow or ice that blocks charging. The collection chamber holds moisture and organic residue that can corrode metal and attract rodents. None of these problems is dramatic on its own, but together they account for most spring failures.
Good winter storage is really about controlled shutdown. Instead of abandoning the trap, you prepare it for a period of inactivity and then bring it back clean and charged.
In mild regions with regular winter sunlight, some growers keep units running year-round because certain pests remain active. Where nights are long, panels are shaded, or hard freezes are common, shutdown is safer. Check your local pest calendar: if there is no target flight for several months, there is little value in running the trap.
Before shutting down, note the final catch counts and any faults. This record helps you judge whether the season’s agricultural pest control program worked and gives a baseline for next year. Photograph the unit so you can compare its condition when it returns to service.
A full chamber is a magnet for moisture and pests. Empty it completely, brush out residue, and wash the container with mild soap if needed. Let it dry fully before reassembly. A clean chamber means the fan and housing start the next season without corrosion or odor.
Wipe the solar panel with a soft cloth to remove dust, pollen, and bird droppings. Inspect the frame and cable for cracks. A small chip in the seal can let water in during a freeze and ruin the electronics. Fix damage before storage, not after.
This is the most critical step. For lithium iron phosphate packs, charge to roughly half and store in a cool, dry place above freezing. For lead-acid batteries, charge fully and top up with a trickle charger periodically through the winter, since they self-discharge. Never store a battery deeply discharged or in direct subzero conditions. If your solar bug zapper uses a removable pack, take it indoors.
Where the unit stays outdoors, cover it with a breathable, waterproof cover that sheds rain but allows air circulation; sealed plastic traps condensation and promotes rust. Raise the base off wet ground. In the harshest climates, bring the entire unit into a shed or barn. Moisture control matters more than cold itself for the electronics.
Set a calendar reminder to unpack the trap before the first expected pest flight. Reinstall the battery, wipe the panel once more, and run a full night test with the chamber empty. Confirm that the fan turns and the light cycles correctly. A smooth restart means your farm pest management plan is ready on day one.
The most frequent error is storing a fully discharged battery, which can cut its life by half. The second is sealing the trap in plastic wrap, which traps condensation. The third is skipping the chamber clean-out and finding a rusted or rodent-damaged unit in spring. All three are avoided with a short, consistent checklist.
Skipping winter storage may save an afternoon, but it often means buying a replacement battery or fan before the next season. For a cooperative managing many units, those replacements add up quickly. Treating storage as a routine part of farm pest management protects the investment and keeps every trap ready for the first flight.
Write a simple one-page checklist and attach it to each unit: empty chamber, clean panel, charge battery, cover or store, log the date. Assign one person per site so the task is never left to chance. A consistent routine turns winter storage from an annual scramble into a ten-minute habit.

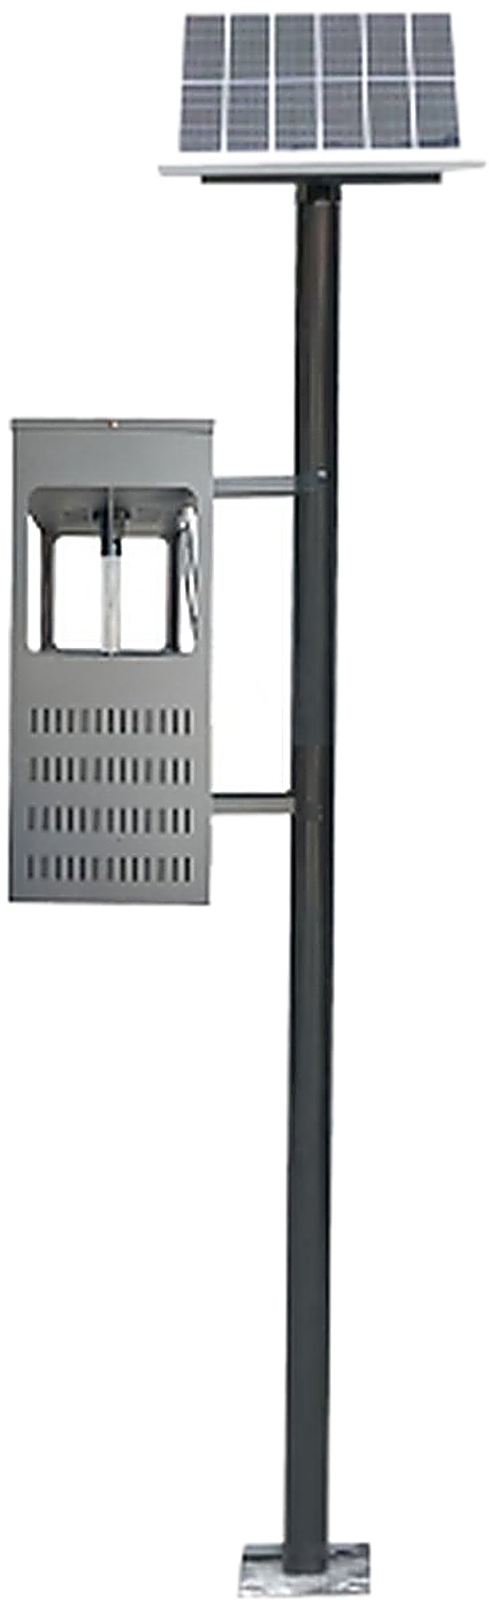
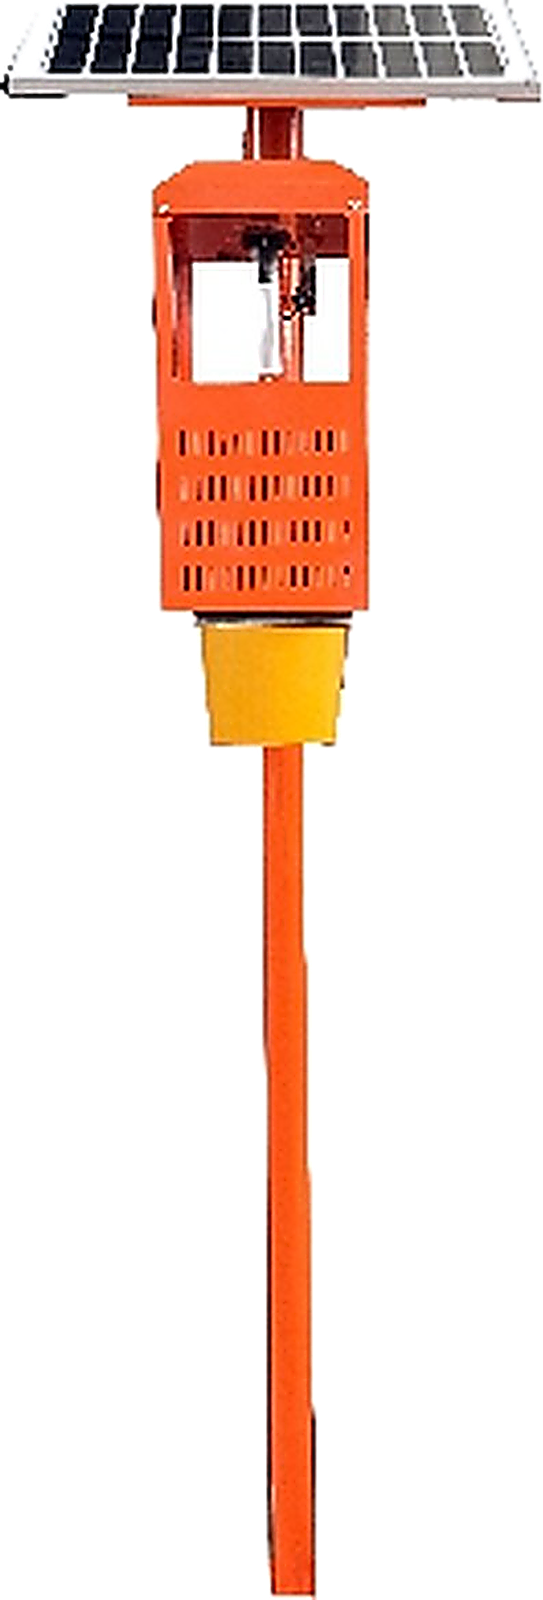
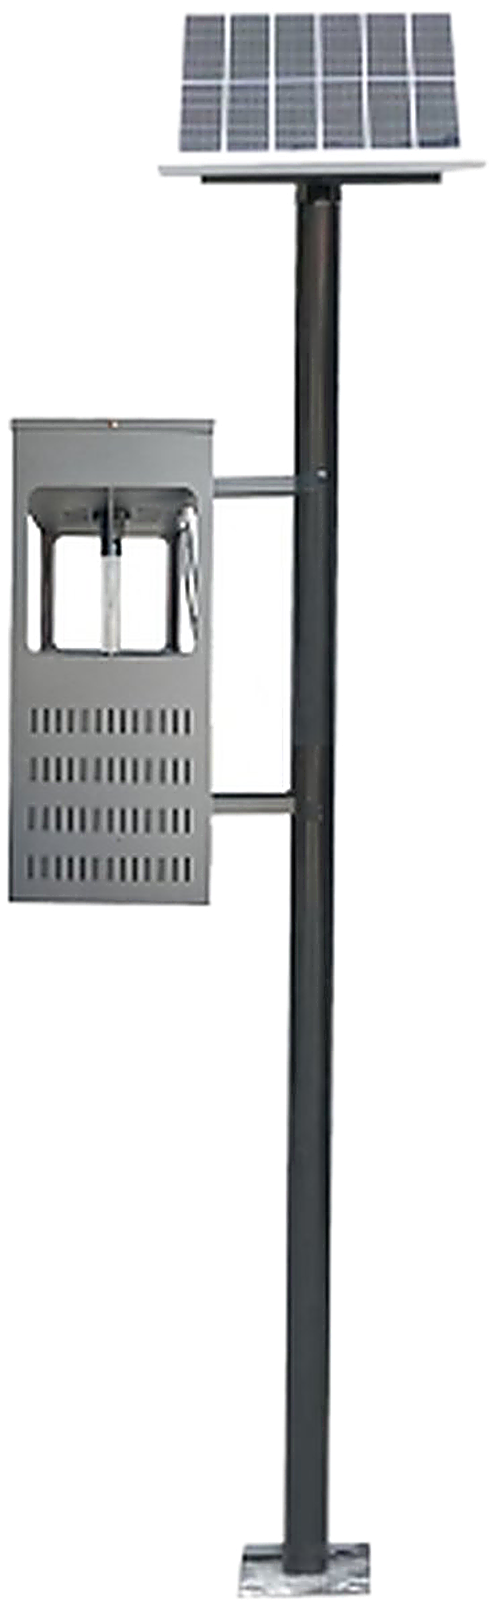
Use this guide alongside the references below to build a complete, defensible programme.
For deeper technical and regulatory context, see the FAO Integrated Pest Management and the EPA safe pest control.
Can a solar insect killer stay outside all winter? In mild climates yes, but use a breathable cover and protect the battery. In freezing regions, bring it in.
Should the battery be removed? If it is removable, store it indoors at moderate charge. This is the single best way to extend battery life.
How often should I check a stored lead-acid battery? About once a month with a trickle charger or charge check.
Do I need to clean the panel if the unit is covered? Yes. Clean before covering so dirt does not bake onto the glass over winter.
When should the trap go back into service? Before the first target pest flight in spring, giving you time to test and fix any issue.